Phone:
(701)814-6992
Physical address:
6296 Donnelly Plaza
Ratkeville, Bahamas.

Phone:
(701)814-6992
Physical address:
6296 Donnelly Plaza
Ratkeville, Bahamas.
Mistakes are inevitable. We all have them. Whether you’re a beginner sewer or a seasoned pro, mistakes are inevitable. It takes a lot of factors for a garment to turn out right, what with measuring, operating the machine, understanding the fabric, and the order of operations. And when something goes wrong, it isn’t a failure. It’s a learning opportunity. If you can identify the issue and the reason behind it, then you can learn from it.
Many of the problems that occur in the beginning stages are because of rushing through processes, not preparing ahead of time, or not understanding the dynamics of fabric and the equipment. Knowing common beginner mistakes and how to fix them will save you time and headaches in the long run and will make for a neater and more dependable outcome.
Omitting Fabric Preparation
Another thing that inexperienced sewers tend to forget, which they do before they even start sewing, is the preparation of the fabric.
The Problem New sewers often cut and sew immediately after purchasing fabric. Most fabrics shrink, distort, relax, or change texture when they are washed. This results in garments that no longer fit, or seams that twist.
Solution
Prewash and dry your fabric as you intend to do when the project is complete. Then iron to make flat before you cut out your pattern. This will preshrink your fabric and you will be able to get an accurate measurement.
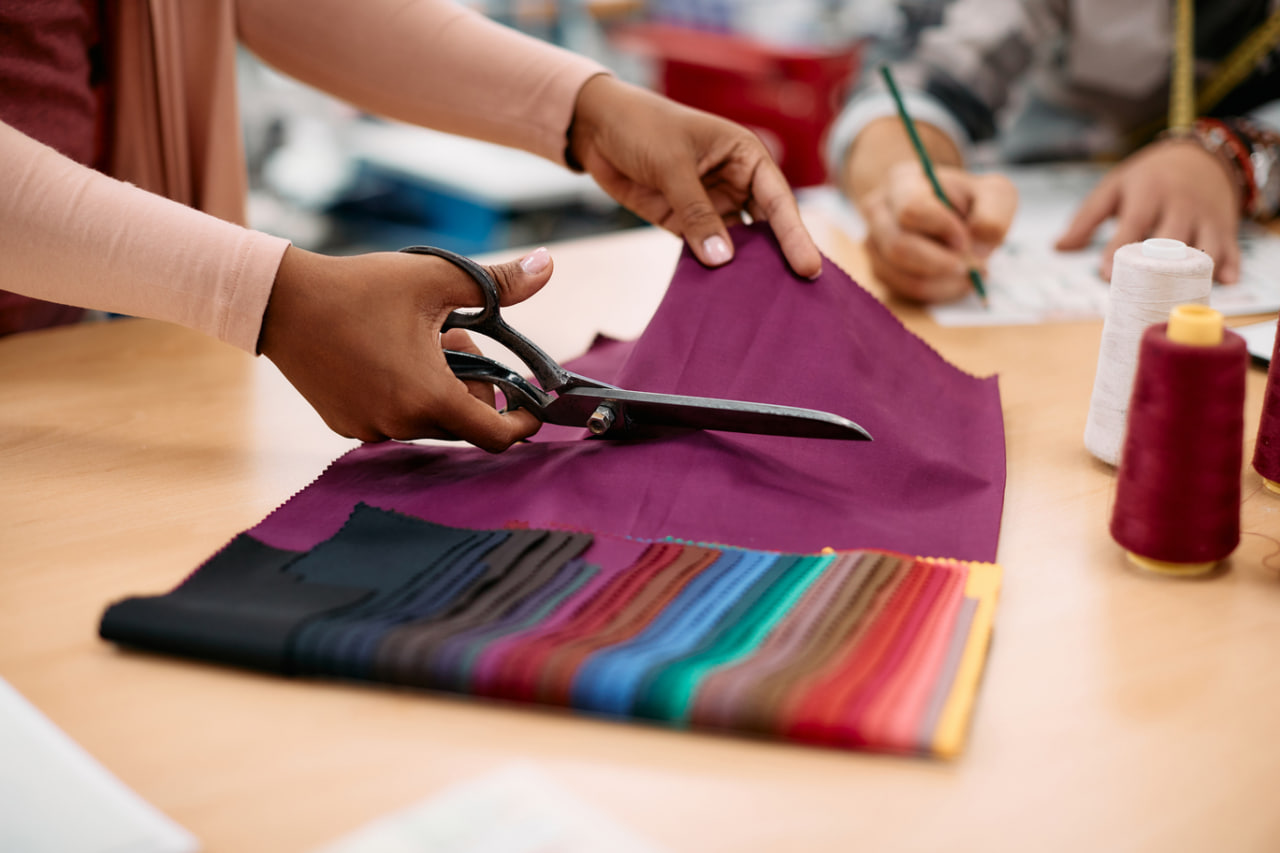
Mis-measuring and Mis-cutting
Accuracy at the cutting stage affects the quality of assembly at a later stage.
The Problem
The novice may estimate, cut along the line, and/or uses dull scissors. Those tiny errors add up over seams and cause matching issues.
The Fix
Measure properly, mark fabric with a fabric-safe marking tool, and cut along the line with sharp fabric scissors or a rotary cutter. Don’t raise the fabric as you cut—especially when cutting curves. It isn’t a race—spend the time and energy here to avoid bigger corrections later on.
Incorrect needle and thread usage
The choice of needle and thread can influence the appearance of the stitches.
The Problem
A single, same-for-all needle may result in skipped stitches, fabric tears, or broken threads. Incorrect thread weight can lead to tension issues.
The Fix
Select the correct type and size of needle for the fabric you are using. Use sharp, fine needles for delicate or light weight fabrics and use a sharp heavier needle for heavier weight fabrics. For general sewing use a good quality general-purpose polyester thread. Do not use thread that is too old or brittle. Change machine needles often.
Bad Machine Threading
Most sewing errors stem from errors in threading.
The Problem
If the machine is not threaded properly, your stitches might bunch up, form loops or even break. I’ve seen many a beginner attribute this to a faulty machine, when in fact it is an issue with the threading.
The Fix: Re-thread the machine from the beginning using the handwheel with the presser foot up. Refer to your owner’s manual for specific threading instructions. Make sure to get the thread seated into the tension discs and verify that your bobbin is in the correct position. Practice this on a piece of scrap fabric.
Many people find themselves sewing too fast, causing the machine to get ahead of them and resulting in missed stitches.
Speed takes away control, particularly for new riders.
THE ISSUE – New sewers tend to hit the gas too hard which can lead to wobbly seam lines, fabric movement and sewing past pivot points. You’re also more likely to make errors that are more difficult to repair when sewing too quickly.
The Fix
Sew slower. Don’t force the fabric. If you have speed settings on your machine, use them. It is better to be accurate than fast, and you will get faster as you go.
No Swatching
When you test you don’t have surprises. When you don’t test you have surprises.
The Problem
We tend to just sew on our good fabric without testing the stitches first. When we do that, sometimes the tension is off, or the fabric puckers, or the seam is too loose, etc.
The Fix: Stitch on a swatch of the fabric you’re using. Lengthen or shorten, widen or narrow, tighten or loosen until it looks right. Then keep that swatch with the rest of your pattern pieces.
Failure to Account for Seam Allowances
The seam allowance is the distance from the stitch line to the edge of the fabric and should always be the same.
Why It Matters
Unequal seam allowances alter garment measurements and skew silhouettes. Novices might ignore the guide marks on the machine plate.
SOLUTIONMark seam allowance lines on the fabric if the sewing machine does not have seam guides. Follow the guide with the edge of the fabric as you sew. If necessary, practice sewing straight lines on scrap fabric to develop more control.
No Locking Stitches
Seams need to be fastened at the top and bottom.
The Problem
Failing to secure your stitches will result in seams coming undone while wearing or washing your garment. This can easily be overlooked by an inexperienced sewer.
The Fix
Backstitch (reverse stitch) a few stitches at the beginning and end of most seams, or shorten the stitch length momentarily to secure threads. Snip the thread tails close to the fabric afterward.
Bad Pinning or a lack of Pinning all together
The pins keep things aligned. If you don’t use them, things will shift.
The Problem
Fabric shifting during sewing results in non-matching seams and twisting of seams. Some new sewists don’t use pins because it takes too long.
The Fix
Pin at intervals along the seam line. Insert the pins at a right angle to the seam line so that they are easy to remove as you sew. For particularly slippery fabric, use more pins or try using fabric clips.
Omitting pressing between steps
Pressing is not ironing, and it is a must in sewing.
The Problem
The novice waits until the end to press the completed item. If you don’t press as you go, your seams will be lumpy and won’t lie flat.
The Fix: Iron all seams as you sew them. Iron flat, then open or to one side as necessary. Use the correct temperature for your fabric. This helps you with your accuracy and makes your work look professional.
One common mistake is to select projects that are too complicated.
The project selection is important for learning outcomes.
The Problem: Begin with advanced garments or patterns and they can become overwhelmed and disillusioned.
The Solution Start with basic straight-seam projects like throw pillow covers, totes, or simple skirts. Once comfortable with those, add a step, and then another until your confidence catches up with the complexity of the project.
Working to Correct Mistakes Without Taking Out Stitches
Errors should be corrected, not swept under the carpet.
The Problem
Some students do not rip out mistakes or realign without removing their old stitches first. This can leave behind bulk and a weakened structure.
The Fix
Gently remove mis-stitches with a seam ripper. It is a tool for normal use, not a sign of failure. Your final product will be stronger if you correct mistakes instead of hiding them.