Phone:
(701)814-6992
Physical address:
6296 Donnelly Plaza
Ratkeville, Bahamas.
Phone:
(701)814-6992
Physical address:
6296 Donnelly Plaza
Ratkeville, Bahamas.
When it comes to sewing, accuracy is everything, and having the right tools for the job makes all the difference. Not only will you get more accurate results and work more efficiently, but you will also save yourself a lot of aggravation and save your fabric from unnecessary damage. Many people who are just starting out will try to make do with what they have on hand, but once you start using the right tools for the job, you will see the difference it makes. From more accurate cuts to straighter seams to pieces that fit better, it’s worth investing in the right tools.
Knowing the purpose of each tool and how to properly utilize them helps to create healthy habits from the ground up. When properly set up, larger projects are much more fun and not as daunting.
Measuring Tools and Accurate Marking
Proper measurement is the foundation of sewing. A tiny measuring mistake can lead to a huge fitting or alignment issue.
Measuring Tape. A flexible measuring tape is used for measuring the body, curved lines and for working with fabric. It should be kept flat and not twisted. If used for measuring the body, it should be firm but not constricting. Take note of the measurement as soon as it is taken.
Rigid Rulers and Seam Gauges: Perfect for measuring hems, seam allowances, and other short lengths. Employ these tools for instances that require exactness, such as drawing a fold line or measuring to ensure that your seam allowance is consistent. Always position the ruler squarely and draw with short, fine marks rather than broad strokes.
Marking devices – These are used to mark the pattern onto the fabric. Chalk, washable pens, and disappearing ink pens are all used. Before using any marking tool, always test on a scrap of fabric to be sure it will come off. It is also important not to press too hard when marking. In some cases, the lines will still be seen after you sew over them.
Cutting Tools and Proper Technique
Cutting tools must be sharp and used only on the proper material. A dull or inappropriate cutter causes ragged edges and distorted forms.
Fabric Scissors. Fabric scissors are to be used on fabric only. Cutting paper will dull them immediately. When using, cut in long gliding motions, do not use short, choppy motions. Keep the bottom blade on the table as you cut to help keep the fabric steady.
Thread Snips: These are great for clipping threads and for making small cuts right up against a seam. They are much better for detailed trimming than using big ol’ scissors that could potentially slice through your fabric.
Rotary Cutters: Rotary cutters are employed in conjunction with cutting mats and rulers to make straight cuts quickly. Use a steady downward pressure and always cut away from the body. Make sure to retract or cover the blade when not in use. Change blades often to ensure accuracy.
Self healing cutting mats will save your tables and make your blades last longer. If the mat has gridlines use them to square and straight cut your fabric.
Needles and Pins
Pins and needles are used to hold and pierce the fabric, and using the correct kind will result in better stitches and keep your fabric from harm.
Hand Sewing Needles: Size of the needle should be appropriate to the fabric. Use fine needles for fine fabrics and thicker needles for thick fabrics. Thread the needle with matching weight thread and make a secure knot at the end. Use new needles if the needle becomes bent or blunt.
-Needles- (Both hand and machine) You’ll need different machine needles for different types of fabric. While there are universal machine needles that can be used for many applications, you’ll get a better finish if you use specialty needles for stretchy fabrics, denim, or thin fabrics. You should also replace your machine needles every so often, particularly after you’ve completed a big project.
Pins. Pins are used to secure the layers of your fabric together before you sew. Pin them in at right angles to the seam line to make them easy to remove as you go. Try not to pin too close to the edge of your fabric or they may fall out as you sew. If you’re using a particularly fragile fabric you might want to use finer pins which will leave smaller holes.
Pin Cushions and Magnetic Holders: This keeps all your pins in one place and within reach. A magnetic holder is also great for picking up pins that have fallen on the floor!
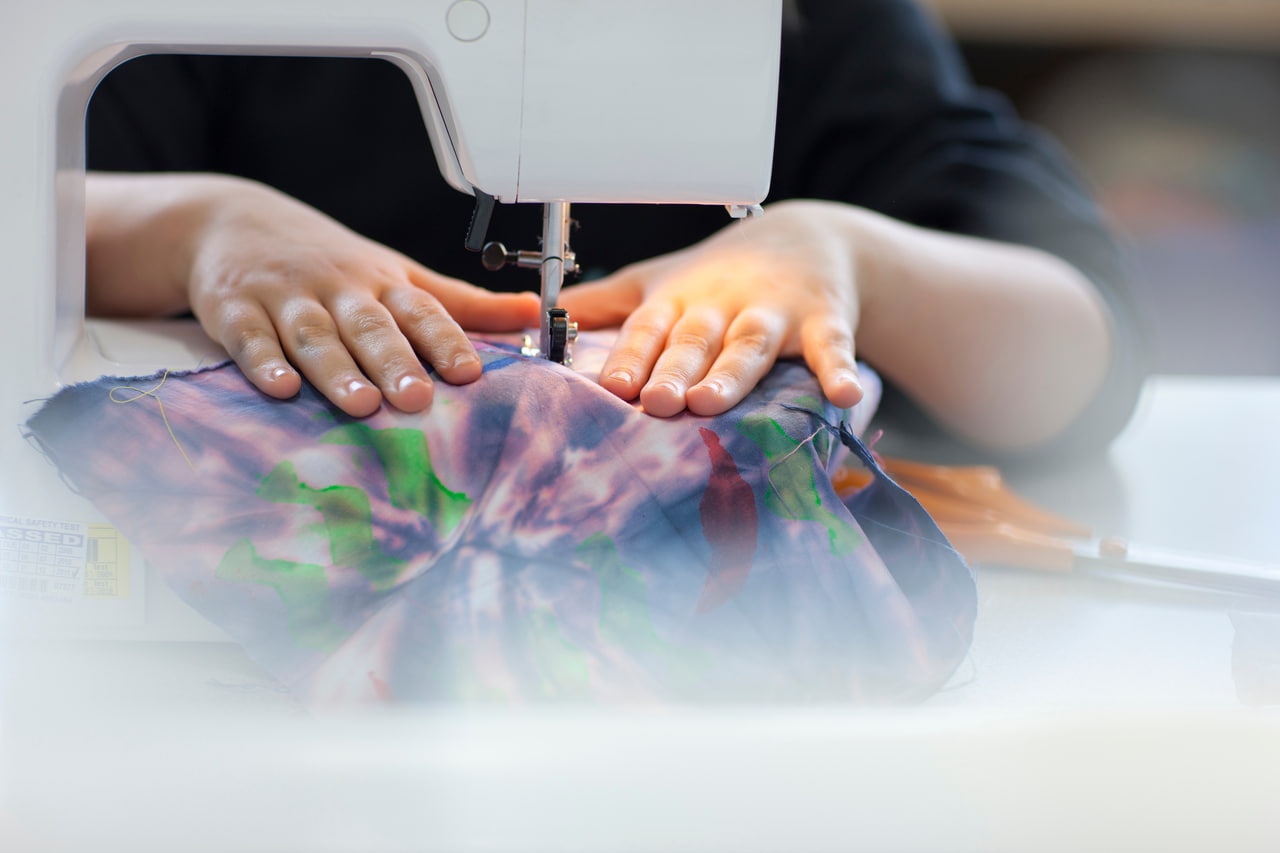
Sewing Machines and Core Accessories
The sewing machine does give a big boost to productivity and uniformity, as long as you set it up correctly and use the right attachments.
Presser Feet. Special presser feet can be used for zipper insertion, buttonholes, and edge stitching. Use the appropriate presser foot for a given project. It will make handling easier and the stitching better. Make sure presser feet are properly attached before you start to sew.
Bobbins Wind bobbins evenly and do not overwind. Use the right type of bobbin for your machine. Incorrect winding is the usual cause of tension trouble.
Machine Threading
Always thread the machine in the proper order. Improper threading is a frequent source of poor stitch quality. Re-thread the machine if you notice irregularities.
Tension – To ensure proper tension, sew a test sample on the fabric you plan to use before you begin. Correct tension will result in evenly formed stitches with no loops or puckering.
Tools for Pressing and Finishing
People don’t talk about pressing enough, especially for beginners. It makes a huge difference in the way your projects turn out.
Iron – iron the seams when sewing, it will help the seams lie flat. Pick up and press, do not run the iron back and forth as you may distort the fabric. Make sure to use the right temperature for the fabric.
Pressing Cloth. A pressing cloth is used to prevent your iron from leaving heat or shine marks on delicate fabrics. Use it as a barrier between your iron and fabric if you’re working with anything delicate.
Seam Roll and Tailor’s Ham: These small gadgets are used to iron curved and shaped seams, darts, and other areas where a crease would ruin the look of the garment. They are used for sleeves, darts, and other curved or contoured pieces.
Safety and Maintenance
Taking care of your tools and your work area is important to their longevity and your safety.
Tool Storage
-Sharp tools should be kept in their respective storage cases. (i.e. scissors should be kept closed, rotary cutters should be kept covered, etc.) This will prevent injuries and minimize lost work time.
Cleaning Clean machines and equipment to remove lint and threads. Clean cutting mats and wipe down marking tools.
Dull blades and needles should be replaced immediately. It is easier to work with sharp blades and needles and they will help you make fewer errors.